Collecting
The Collecting module allows you to gather public contributions through your sites. Users can upload files or submit textual entries along with some identifying metadata, which your site administrators can then moderate and approve for inclusion.
Once activated on the modules tab of the admin dashboard, Collecting is configured on a site-by-site basis. It adds a section to your Site Settings page, and adds a link under each Site for Collecting forms. Forms are added to site pages by way of page blocks.
Collecting integrates with the Custom Vocab, Mapping, and Numeric Data Types modules.
Paramètres du site
Collecting adds a section to your site settings where you can manage terms of service and emails for the collecting forms for this site.

Dans cette section il y a deux champs:
Conditions d’utilisation est un champ multi-ligne où vous pouvez saisir les conditions d’utilisation pour le contenu collecté via ce site. Ce texte est lié au formulaire juste au dessus du bouton de soumission:
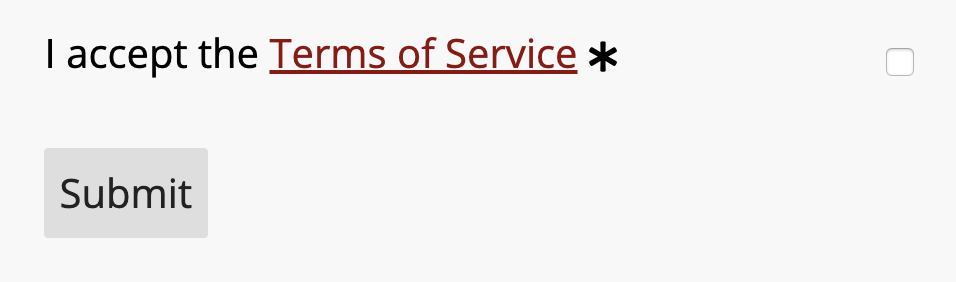
Cliquer sur les mots « conditions d’utilisation » ouvrira une nouvelle fenêtre pour que les personnes remplissant le formulaire ne perdent pas les informations saisies.
Terms of service URL is an input for a link to an existing external terms of service page.
Adresse e-mail vous permet de définir une adresse personnalisée à partir de laquelle les e-mails de soumission seront envoyés. Si laissé vide, ces e-mails seront envoyés de l’adresse e-mail de l’administrateur dans les paramètres globaux de l’installation Omeka S.
Notification email address allows you to set an email address of a staff member to which notifications of new submissions will be sent. If left blank, no notification email will be sent.
!!! note
If you are having problems sending emails from your Omeka S installation, check with your hosting provider. Some hosting setups may require that the domain name for the administrator email matches the domain name of the installation (if your domain is yourinstall.org, the administrator email must be user@yourinstall.org). Omeka S relies on the server’s underlying sendmail utility for sending email.
Add a form
If Collecting is active, then a tab for Collecting will appear in the context menu for every site.
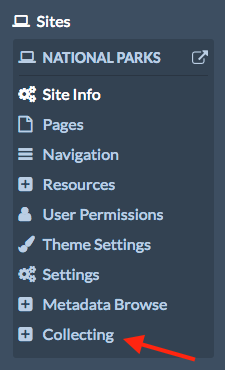
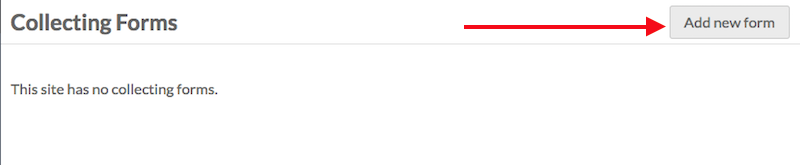
Clicking on this will take you to a list of your collecting forms for that site. If you have just installed the module, the Collecting Forms page will display the message « This site has no collecting forms. » To add a new form, click the « Add new form » button in the upper right hand corner of the window.
La page Ajouter un formulaire de collecte a deux sections: la première a un ensemble de champs et d’options à compléter; la deuxième est l’endroit où vous ajouter et modifier les invites qui composeront le formulaire que les visiteurs verront et rempliront.
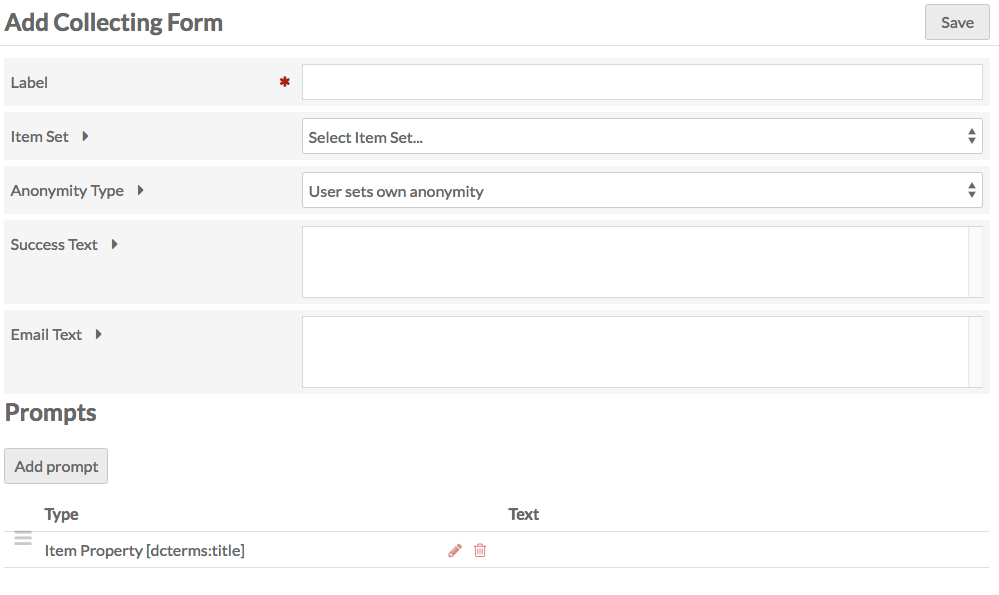
Fields and settings
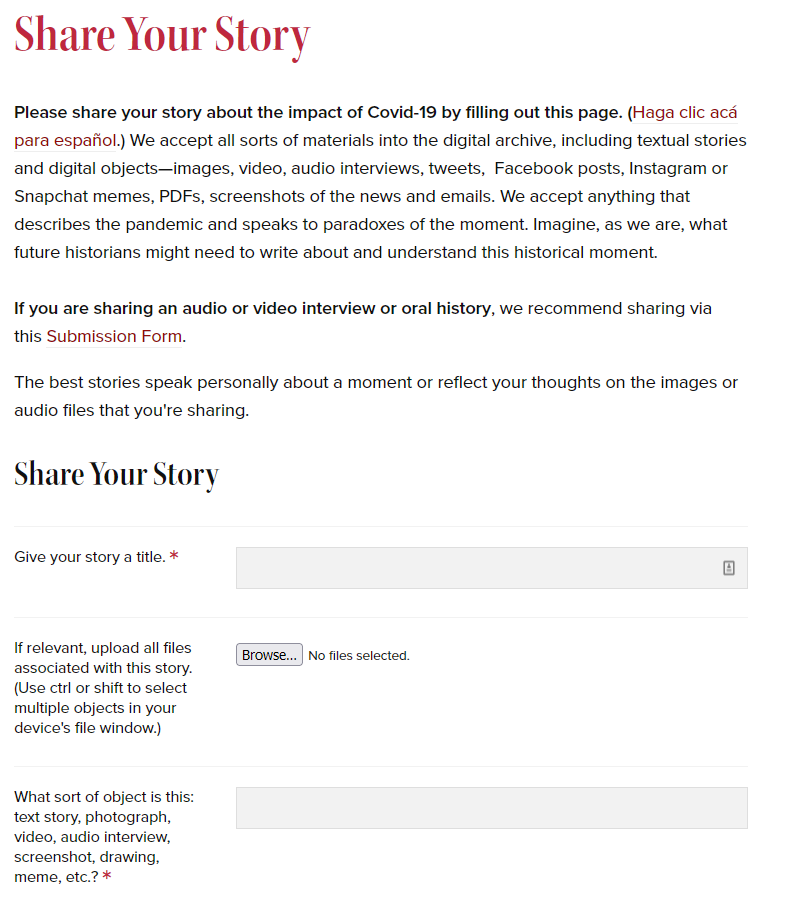
Label: name the collecting form. The label will appear as a header above the form on the public side, so the label should be descriptive and helpful to both you and site visitors.
Item Set: select the item set to which you want to add collected items.
Anonymity Type: a dropdown with three options:
« L’utilisateur définit son propre anonymat »: les utilisateurs peuvent décider de contribuer anonymement ou non et si leur contenu peut être publié ou non.
« User Public and User Name inputs are publicly visible »: both the user’s name and their items will be made public.
« Les valeurs Utilisateur public et Nom d’utilisateur sont privées: les deux entrées restent privées.
Success Text: the message that displays on a new page if the item is successfully collected.
Email text: if you collect an email address from the user in the form, they will receive a confirmation message about the submission of their item.
Champs
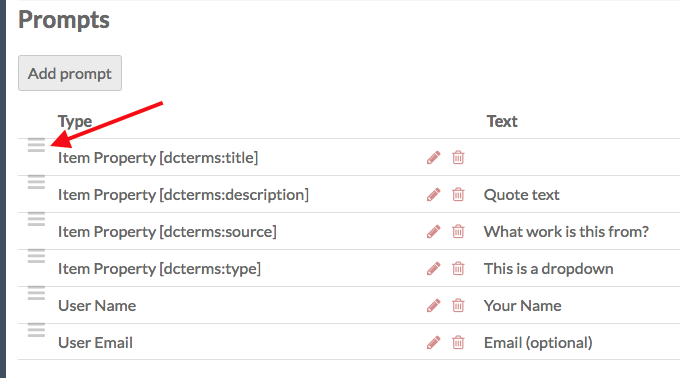
Prompts are listed in a table which gives their Type and the display Text on the public form. These prompts make up the form which site visitors will see (in addition to the label, discussed above).
To add a new prompt, click the « Add prompt » button just below the Prompts header. This will open a side drawer with a dropdown to select a prompt type.
On selection, the options for that type will load in the sidebar for you to edit, with a « Save Changes » button at the bottom of the options.
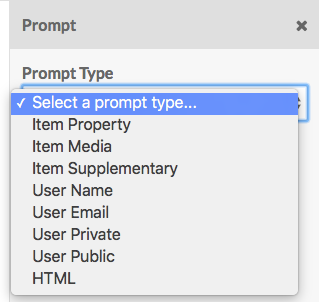
Le module Collecting a des types de champs avec des options comme suit:
Propriété de contenu: sélectionnez une propriété parmi les vocabulaires de l’installation que les visiteurs pourront utiliser pour décrire le contenu.
Property: select a property from the vocabularies (example: Description).
Texte du champ: Si vous voulez que le champ soit autre chose que le libellé de la propriété.
Type de champ: taille et type de champ. Choisissez parmi:
Text box (one line).
Text box (multiple line).
Select menu (dropdown): enter the options for the menu in the « Select Menu Options » field that will appear, with one option per line.
Item resource (dropdown): will offer the user the choice of existing items to add as a property value. You can paste anything after the
admin/in the url of an advanced search to load specific items.If you have Custom Vocab installed, an additional dropdown can select from your existing Custom Vocabs. This will load as a dropdown for the users on the public side of the form.
If you have Numeric Data Types installed, you will also have the options:
Horodatage numérique
Période
Durée
Numeric integer.
Check the « Required? » box if the prompt is required.
Item Media allows visitors to add media to their submission.
Media Type:
Une liste déroulante pour le type de media, avec les options suivantes:
Upload one, which allows users to upload one file
Upload multiple, which allows users to upload multiple files at once using the browser’s native file picker (with shift or control keys)
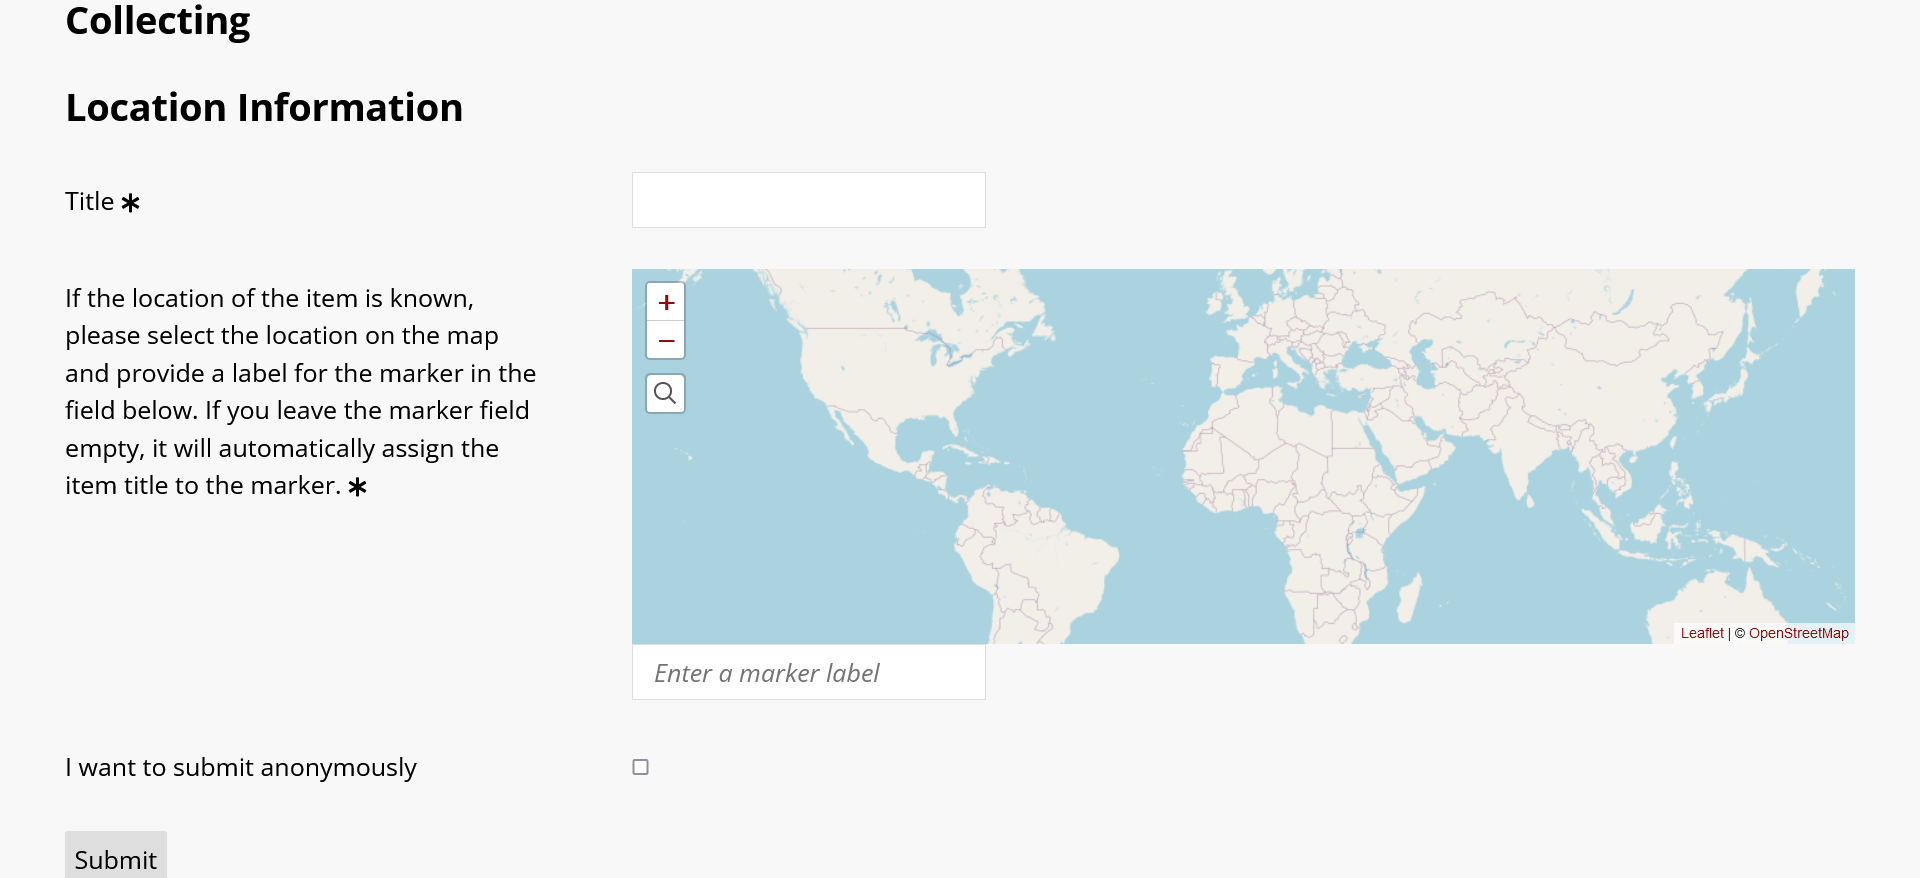
If you have Mapping installed, you can add a map which allows users to provide locations by clicking directly on the map and providing a label in the field directly below it. If the field below the map is left blank, the marker will be labeled with the contents of the Title field.
URL
HTML.
Texte du champ: Si vous voulez que le champ soit autre chose que le libellé de la propriété.
Check the « Required? » box if the prompt is required.
Item Supplementary adds additional information for the item, not linked to any particularly vocabulary or property.
Texte du champ: Si vous voulez que le champ soit autre chose que le libellé de la propriété.
Type de champ: taille et type de champ. Choisissez parmi:
Champ texte (une ligne)
Champ texte (plusieurs lignes)
Select menu (dropdown): enter the options for the menu in the « Select Menu Options » field that will appear, with one option per line.
Check the « Required? » box if the prompt is required.
User Name to become the owner of the item. If the person using the form is a logged-in user of the Omeka S installation, this will autopopulate.
Texte du champ: Si vous voulez que le champ soit autre chose que le libellé de la propriété.
Check the « Required? » box if the prompt is required.
User Email where the person adding the item can give their email. If this is left blank, they will not receive an email with the text in the « Email Text » field.
Texte du champ: Si vous voulez que le champ soit autre chose que le libellé de la propriété.
Check the « Required? » box if the prompt is required.
Info utilisateur privée collecte des informations supplémentaires sur l’utilisateur qui seront conservées de manière privée.
Texte du champ: Si vous voulez que le champ soit autre chose que le libellé de la propriété.
Type de champ: taille et type de champ. Choisissez parmi:
Champ texte (une ligne)
Champ texte (plusieurs lignes)
Select menu (dropdown): enter the options for the menu in the « Select Menu Options » field that will appear, with one option per line.
Check the « Required? » box if the prompt is required.
Info utilisateur publique collecte des informations supplémentaires sur l’utilisateur qui pourront être rendues publiques
Texte du champ: Si vous voulez que le champ soit autre chose que le libellé de la propriété.
Type de champ: taille et type de champ. Choisissez parmi:
Champ texte (une ligne)
Champ texte (plusieurs lignes)
Select menu (dropdown): enter the options for the menu in the « Select Menu Options » field that will appear, with one option per line.
Check the « Required? » box if the prompt is required.
HTML: Insert a block of HTML text into the form, for additional guidance, information, etc. The « Prompt Text » field for this prompt has WYSIWG formatting options.
Manage forms
Une fois que vous avez au moins un formulaire de collecte, ils apparaîtront sur la page des formulaires de collecte. Cliquez sur le bouton modifier (crayon) pour modifier le formulaire. Cliquez sur le libellé du formulaire pour voir plus d’informations à son sujet et pour voir les contenus collectés.
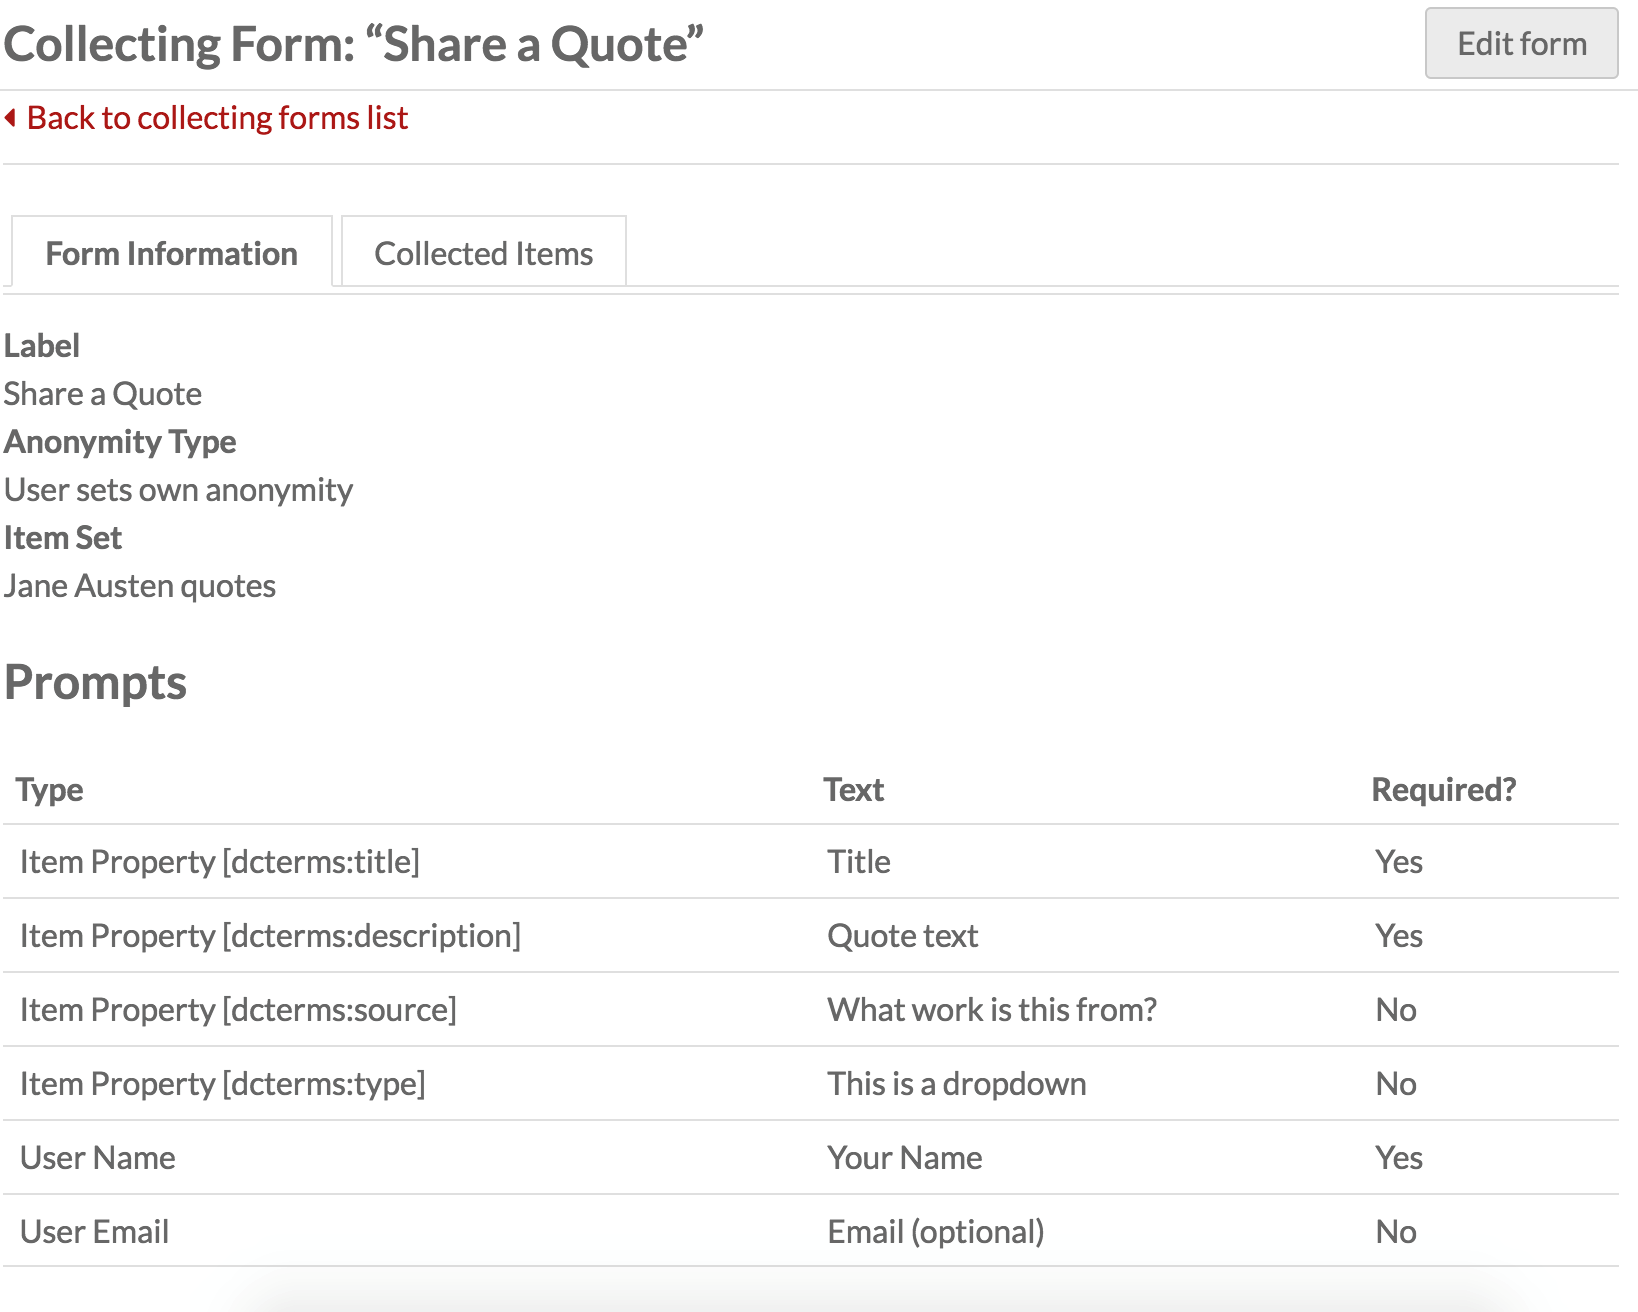
The form page has two tabs: Form Information and Collected Items.
The form information tab shows you the existing data for label, anonymity type, and item set, along with a table of all of the prompts, in order, with their type, text, and whether the prompt is required.
To edit the form, click the « Edit form » button in the upper right hand corner. The options are in the edit form page are the same as when adding a form. To edit a prompt, click the edit button (pencil) for the prompt. This will open the sidebar drawer for that prompt.
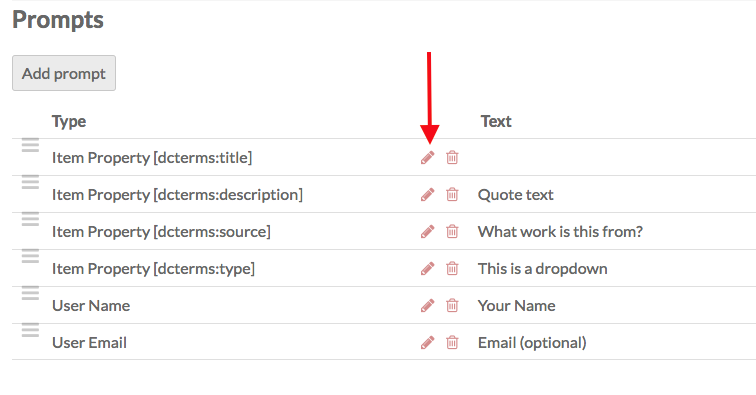
Vous pouvez réorganiser l’ordre des champs en les glissant et les déposant via l’utilisation de l’icône des trois lignes tout à gauche de libellé du type de champ.
Add to site pages
Pour ajouter un formulaire de collecte à une page:
Go to the page on which you want the form to appear (or add a new page for the form).
From the Add New Block sidebar select the Collecting block.
On the Collecting block, click the box for the form you want to include. You can add more than one form to the page by checking more than one box. Or you can separate forms by adding separate page blocks, one form per block.

On the public page, your form block will appear as a <form> element with an ID of collecting_form_X, where X is the ID of the form. Questions appear in <div class="field"> elements; required questions will also have the class « required ». Inside each question is a <div class="field-meta"> for the text of the question, and a <div class="inputs"> for the response field. You can use the CSS Editor module to control how these elements are displayed.
Managing collected items
Items added via a collecting form will appear in the Items section of the admin dashboard, but you may find it easier to manage them through the Collecting tab of the site through which they were collected.
To see the items collected with a specific form, go to the Collecting tab in the context menu for the site and click on the form label. Then click the Collected Items tab.
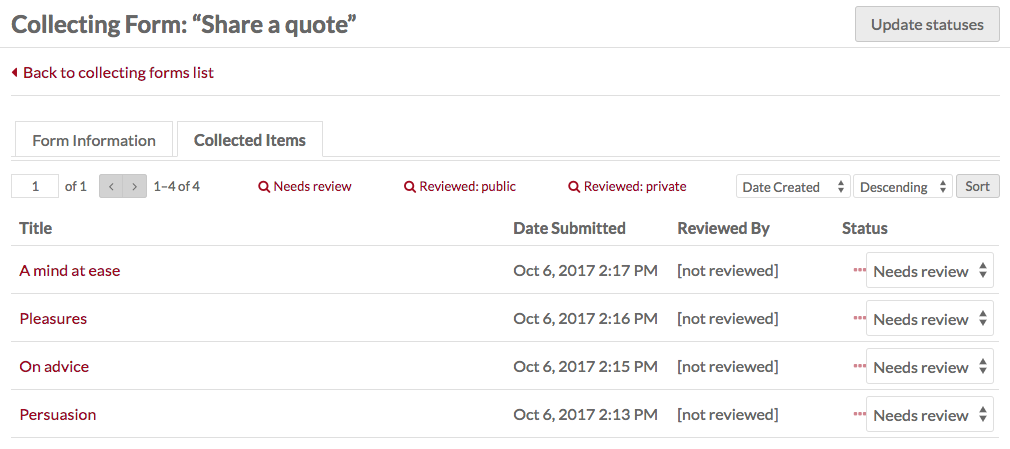
This tab has a table of collected items listed by Title, the Date Submitted, Reviewed By, Status, and ellipsis (three dots).
To see the collected information, including user name, email, etc., for any item, click on the more info ellipsis. Clicking on an item title will take you to the item’s edit page (under Items, not under Collecting).
A collected item can have one of three status messages: Needs Review, Public, and Private. To change the status of an item, select the desired status from the dropdown and then click the « Update statuses » button in the upper right corner.
When you update the status of an item from « Needs Review » to either « Public » or « Private », your name will appear in the row for that item as the user the item has been Reviewed by. If you have multiple people working on a site, this can help you keep track of who has approved the collected items.